

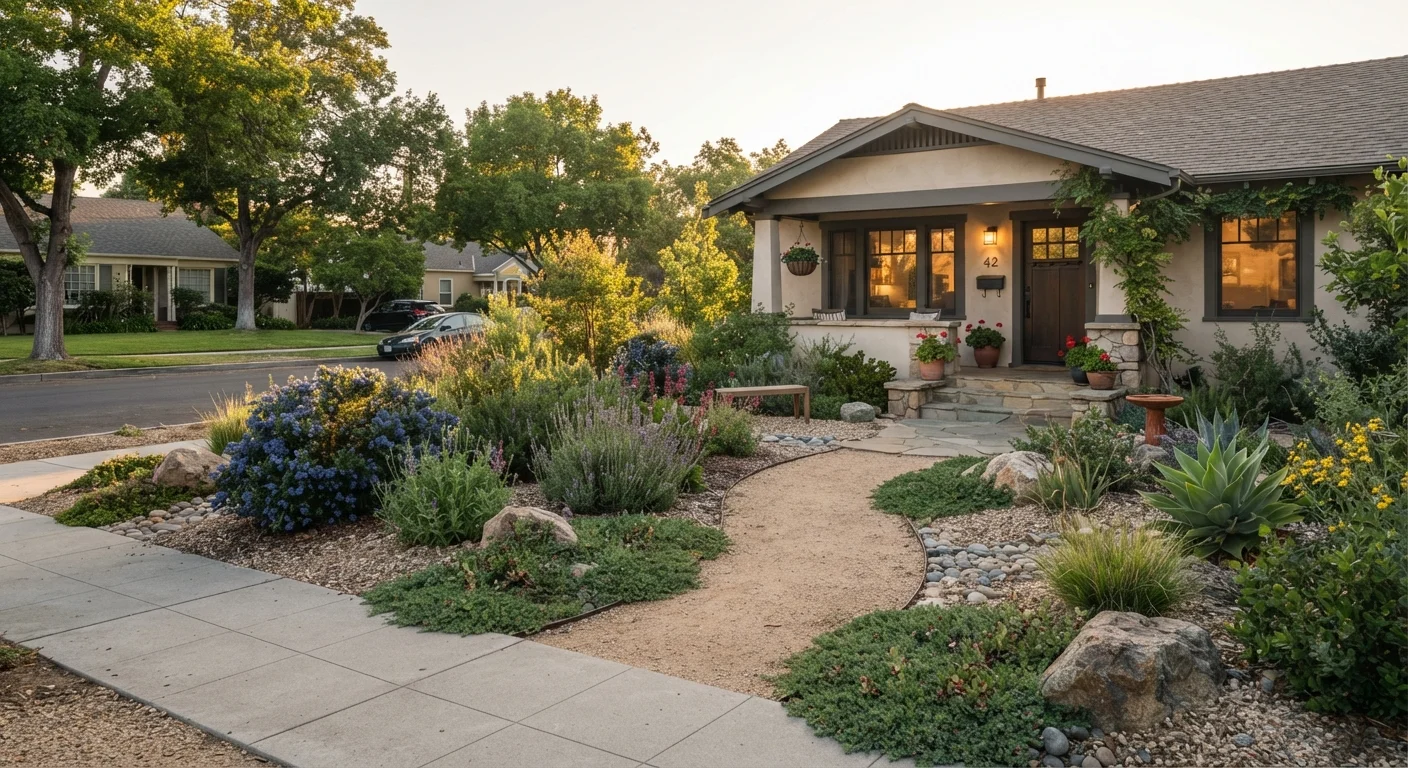
Key Takeaways
Why low-water landscaping makes sense for families
Outdoor water use accounts for a large share of household water consumption in many parts of the US, and in drier climates that share climbs even higher. For families watching utility costs, the lawn is one of the most practical places to make changes. The goal is not a bare or neglected-looking yard. It is a yard designed so that what grows there actually suits local conditions, which means less intervention from you to keep it looking tended.
Low-water landscaping is sometimes called xeriscaping (from the Greek word for dry). It covers a range of approaches: replacing grass with hardscape or gravel, switching to drought-tolerant native plants, improving soil, and watering more precisely. None of these require you to tackle everything at once. Most families find it easier to convert one area at a time, spreading cost and labor over a season or two.
For anyone also building food gardens, see our guide on raised garden beds on a budget for complementary strategies that limit water and material waste.
Replace high-water turf in sections, not all at once
Standard cool-season lawns like Kentucky bluegrass need frequent watering to stay green through summer. Replacing even a third of that turf with gravel, native ground cover, or a planted bed can reduce irrigation time considerably without making the yard look stripped back.
Sod removal can be done by hand with a flat spade or rented sod cutter. Sheet mulching, which involves laying cardboard over grass and covering it with several inches of wood chip mulch, is a lower-effort alternative that smothers the turf over several weeks. This is a good method for families who want to convert a large area without heavy digging.
Replacing even a third of your turf with drought-tolerant cover can cut irrigation time considerably.
Choose plants matched to your climate and soil
Native plants and regionally adapted species are genuinely better suited to local rainfall patterns, which means they typically need no supplemental watering once established. The adjustment period after planting usually takes one full growing season, sometimes two. Watering consistently through that first summer gives roots time to go deep.
Contact your county cooperative extension office for a free or low-cost list of plants suited to your region. These lists are organized by sun exposure, soil type, and water need, which takes most of the guesswork out of selection. Ornamental grasses, sedums, and many salvias are widely adaptable and look tidy without much pruning.
Native plants typically need no supplemental watering once their roots are established.
Lay mulch to hold moisture between waterings
A 2- to 4-inch layer of wood chip or bark mulch over planted areas slows evaporation from soil significantly, which extends how long plants can go between waterings. Mulch also moderates soil temperature and reduces weed pressure, both of which lower the maintenance load over the season.
Arborist wood chips are often available at no cost through local tree services, which regularly need to dispose of chipped material. Municipal composting programs sometimes distribute free mulch as well. Check your city or county website for availability. Keep mulch a few inches away from plant stems to avoid rot.
A 2- to 4-inch mulch layer can extend the time between waterings by slowing soil evaporation.
Switch to drip irrigation or soaker hoses
Overhead sprinklers lose a substantial portion of water to evaporation and wind drift before it ever reaches roots. Drip irrigation and soaker hoses deliver water at ground level, directly into the soil around plant roots. This reduces water use and also keeps foliage dry, which lowers the likelihood of fungal disease.
Basic drip systems can be set up with components from a hardware store and do not require a plumber. For families on a very tight budget, soaker hoses laid under mulch accomplish most of the same result at lower upfront cost. Connect either to a simple mechanical timer so watering happens early in the morning when evaporation is lowest.
Drip irrigation delivers water to roots directly, avoiding the evaporation losses that come with sprinklers.
Group plants by water need to simplify watering
Hydrozoning means placing plants with similar water needs in the same area so each zone can be watered appropriately without overwatering drought-tolerant plants or underwatering thirstier ones. Even without a formal irrigation system, this approach makes hand-watering faster and more effective.
A practical layout puts the most drought-tolerant plants in areas farthest from the house or in locations with sandy, fast-draining soil. Plants that need more moisture can go in lower spots where runoff naturally collects. This takes advantage of what the site already does rather than fighting it.
Grouping plants by water need lets you water each area precisely, without waste.
Use hardscape strategically to reduce planted area
Gravel, decomposed granite, flagstone, and concrete pavers all reduce the total planted area that needs water. Used thoughtfully, they create clean definition between beds and walkways that makes a yard look more organized, not less cared for. Gravel in a dry streambed pattern, for instance, manages drainage while contributing to the overall visual structure of the yard.
Permeable pavers and gravel allow rain to soak into the ground rather than running off, which matters for yards in areas with summer thunderstorms. Solid concrete or asphalt surfaces increase runoff, which can erode planted beds over time. Check local codes before installing large hardscape areas, as some municipalities have rules about impervious surface coverage on residential lots.
Gravel and pavers reduce planted area while keeping the yard looking structured and deliberate.
Putting it all together without a big budget
Converting an established lawn gradually is more realistic than ripping everything out at once. Start with the area that gets the least foot traffic, or the strip along the street or driveway that you water the most. Measure what you plant there against your water bill over the following two months. Concrete results make it easier to decide what to convert next.
Start with a water audit before converting
Walk your yard during a watering cycle and note which areas stay wet longest and which dry out fastest. This tells you where irrigation is already inefficient and which zones are the best candidates for conversion. Many local water utilities offer free or subsidized water audits for residential customers. Even a simple self-assessment takes about 20 minutes and gives you a clear starting point.
Understanding what goes on the ground matters as much as what you plant. Our guide on mulch, compost, and ground cover explains how each material performs differently and which situations call for which.