

Key Takeaways
Option A
Weatherstripping
The movable-joint specialist.
Best for: Sealing gaps around doors and operable windows where surfaces open, close, or flex repeatedly.
Option B
Caulking
The stationary-crack filler.
Best for: Sealing fixed gaps and cracks along window frames, baseboards, trim, and other surfaces that do not move.
If you have a drafty exterior door that rattles or lets in cold air around its edges
Weatherstripping
Door edges compress and release every time the door moves, so only a flexible, compressible seal can hold up without cracking.
If you have gaps between your window frame and the surrounding wall trim
Caulking
That joint is stationary, so a rigid bead of caulk bonds cleanly to both surfaces and will not split under normal conditions.
If you want to seal both the moving sash and the fixed frame of a double-hung window
Both materials together
Apply weatherstripping where the sash meets the frame and caulk where the frame meets the wall, since each zone has different movement requirements.
If you are sealing baseboards, crown molding, or interior trim to a wall
Caulking
These joints do not move, and a paintable latex caulk fills the gap cleanly and accepts paint to blend with the wall.
What each product actually does
Weatherstripping is a flexible strip, foam, rubber, or vinyl, that compresses when a door or window closes and springs back when it opens. That repeated compression and recovery is its entire function. Without that flexibility, the seal fails quickly.
Caulk is a paste that cures into a semi-rigid bead. It bonds to two adjacent surfaces and fills the gap between them permanently. Because it cures rigid or only slightly flexible, it works well where surfaces do not shift against each other. Where they do move, the bond breaks and the caulk cracks.
The single deciding question for any gap is: does this joint move? If yes, use weatherstripping. If no, use caulk.
| Criterion | Weatherstripping | Caulking |
|---|---|---|
| Joint type | Moving (opens and closes) | Stationary (fixed gap) |
| Typical locations | Door edges, door bottoms, operable window sashes | Window frames, baseboards, trim, pipe penetrations |
| Material form | Foam tape, rubber, V-strip, door sweep | Paste applied from a tube or caulk gun |
| Flexibility after install | Remains compressible and elastic | Cures semi-rigid to rigid |
| Typical lifespan | 2 to 5 years (varies by traffic) | 5 to 10 years on a well-prepped surface |
| Paintable | Usually no | Yes (latex types) |
| Skill level required | Beginner | Beginner |
Where weatherstripping goes and why
Apply weatherstripping along door edges (the two vertical sides and the top horizontal edge), on the bottom of the door using a door sweep or threshold seal, and along the sash edges of operable windows. Every one of those locations compresses dozens of times a week.
Foam tape is the most affordable option and works on light-duty interior doors. V-strip or tension-seal weatherstripping, a folded piece of metal or plastic, fits into the groove of a door stop and lasts longer under heavy use. Door sweeps attach to the bottom edge of the door and drag lightly across the threshold to block the gap there.
When installing foam tape, clean the surface with rubbing alcohol first so the adhesive sticks fully. Press the tape firmly rather than stretching it, because stretched foam compresses less effectively. Replace any weatherstripping that looks compressed flat, torn, or no longer springs back.
Where caulk goes and why
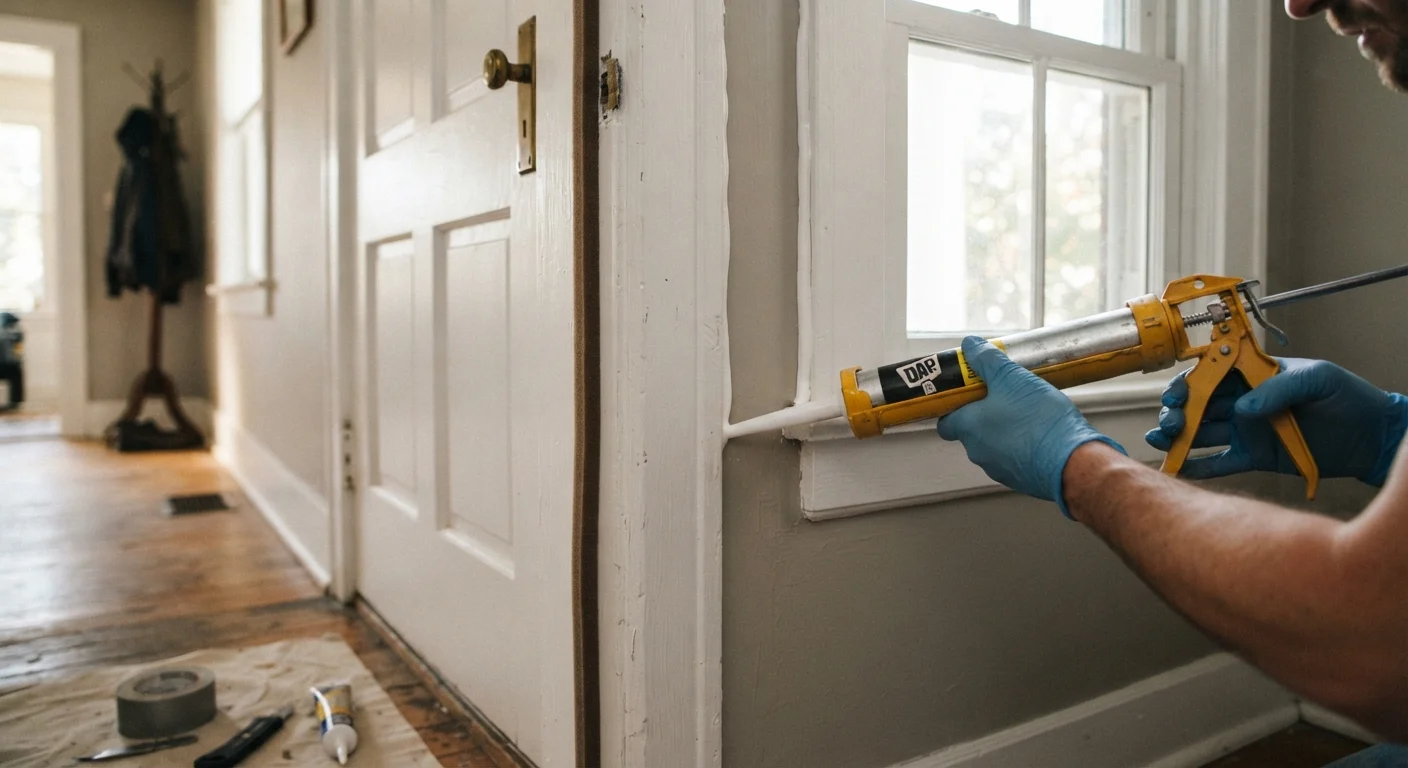
Caulk belongs on the perimeter of a window frame where it meets the surrounding wall, along baseboards and door casing where they meet the wall, around any pipe or wire penetrations through walls, and along the joint between a bathtub and the wall tile. None of those joints open and close.
For interior trim and baseboards, paintable latex caulk is the practical choice: it cleans up with water, accepts standard latex paint, and is widely available at hardware stores. For areas exposed to moisture, such as around tubs and sinks, use a silicone or siliconized latex caulk rated for wet areas.
Prep matters more than product choice. Remove old, cracked caulk fully with a plastic scraper or caulk remover tool, clean the surface, and let it dry before applying a new bead. A caulk gun gives a steadier bead than a tube squeezed by hand. Cut the nozzle at a shallow angle and run a continuous bead without stopping, then smooth it with a damp finger or a caulk tool before it skins over.
Common mistakes that waste material and money
The most frequent error is caulking a door edge. The door compresses that bead every time it closes, and most caulks are not rated for that movement. The bead cracks within weeks and the gap reopens.
The second common mistake is layering new caulk directly over old caulk. The new bead bonds to the old material rather than to the substrate, so it peels off far sooner than a properly prepped surface would allow.
On windows, some homeowners caulk the moving sash shut without realizing it. If you cannot open a window after caulking, look for a bead that crosses the sash-to-frame joint. A utility knife can cut through it to free the sash, and weatherstripping should replace caulk in that spot going forward.
Finally, gaps larger than about half an inch usually need a backer rod (a foam cord pressed into the gap) before caulking. Filling a deep gap with caulk alone uses far more material than necessary and the thick mass often cracks as it cures.